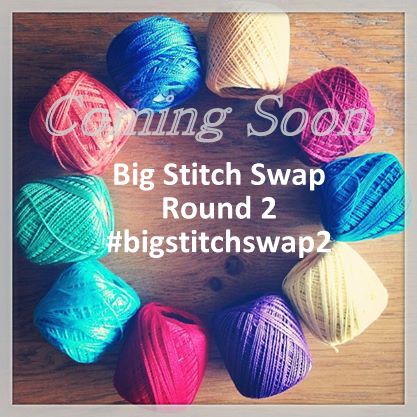
Cindy and I are hosting Round 2 of The Big Stitch swap and we would just love if you would join us! The theme of the swap is that hand stitching of some variety is a significant contribution to the swapped item. It can be embroidery, hand quilting, cross stitch...what ever you like.
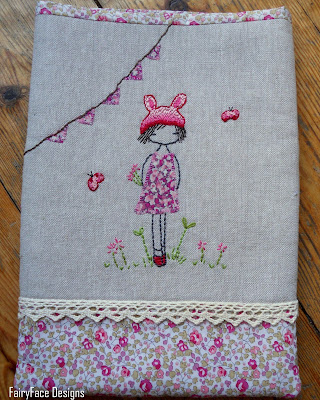
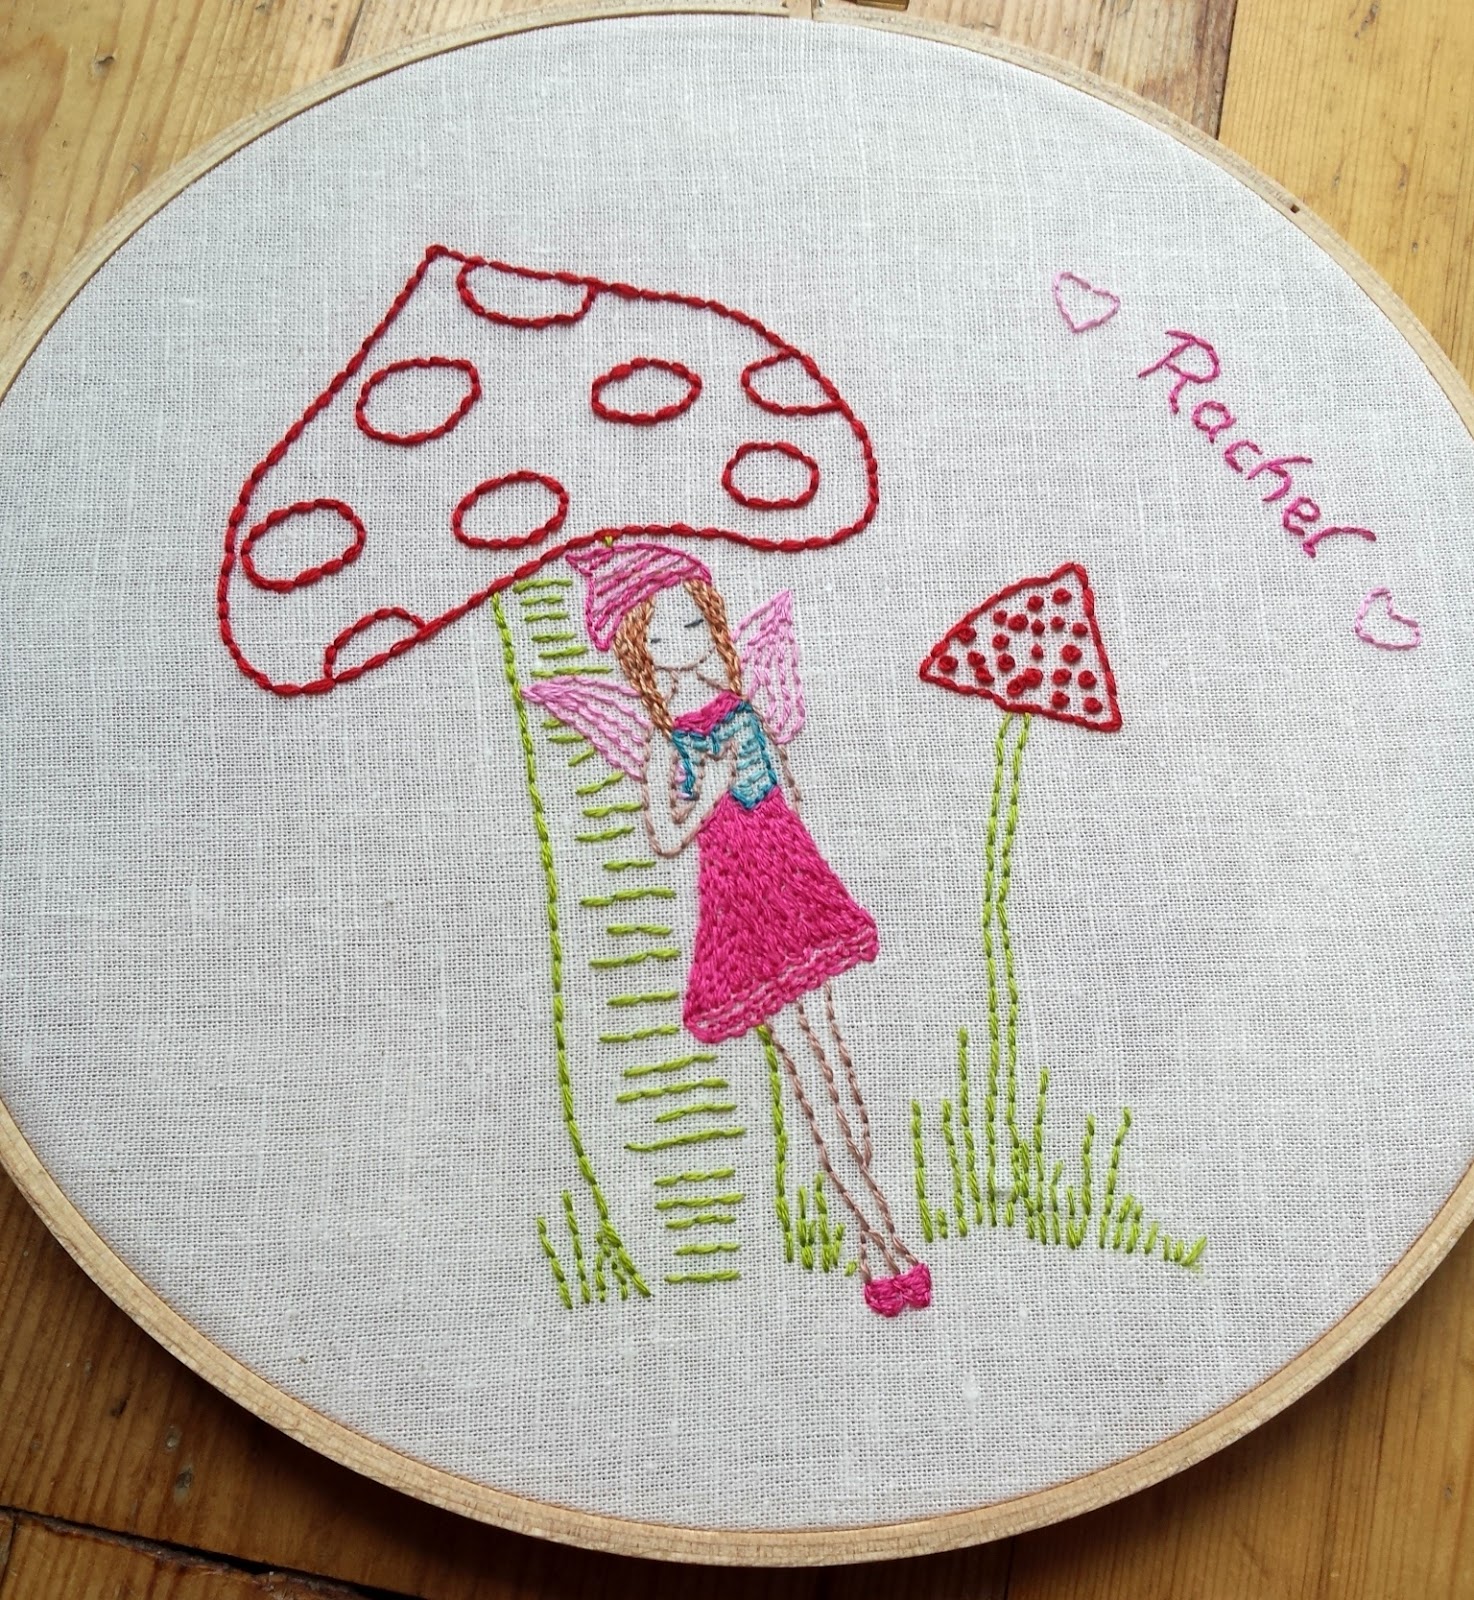
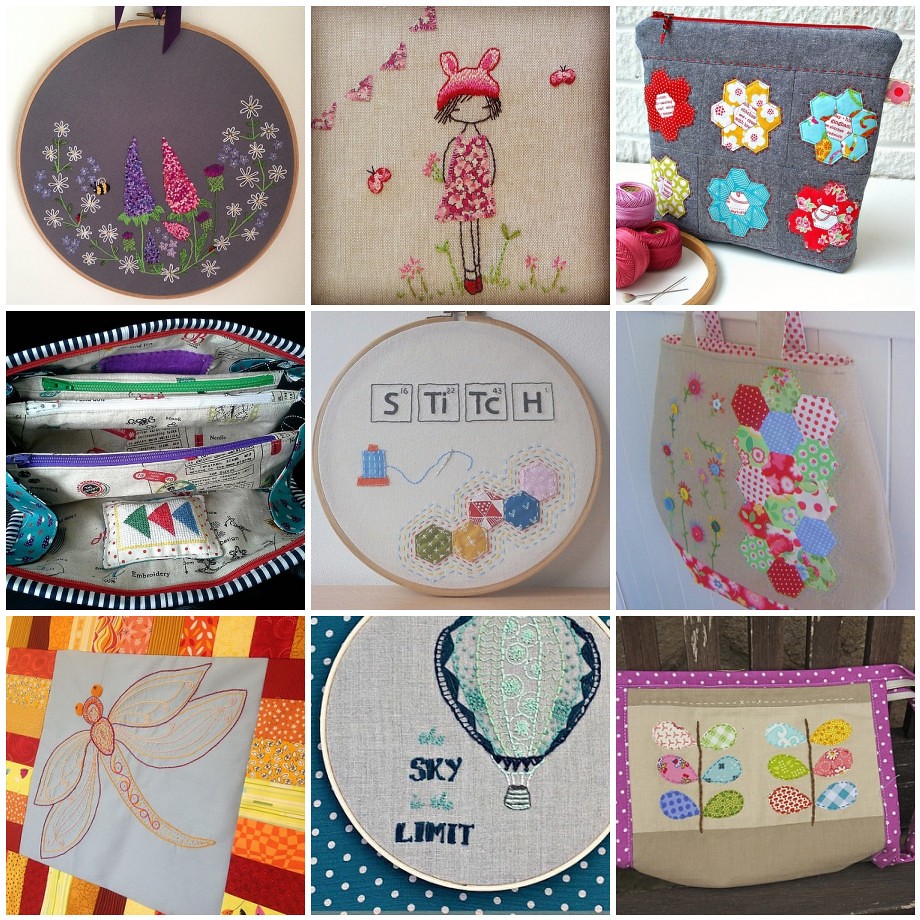
What to make, what to make? Well, our suggestions would be something along the scale of a doll quilt, tablet cover, embroidery hoop, messenger bag, zippy pouch, notebook cover, cushion/pillow cover or a tote bag. You get the idea, something that allows enough space to incorporate a stitched motif, or handquilting design. But not too big. The only guideline is that your hand stitching has to be a significant portion and focal point of the item's design.
 |
|
Want to join in? The swap is open to 50 people including myself and Cindy. It will be hosted on Instagram, so you will need to have a public account there - sadly, we cannot accept quilters with private profiles as we will not be able to see your progress pics etc. If you want to join, hop over and fill out the entry form
here. We will then
secretly assign partners. Know that your partner is not necessarily making an item for you. While you are waiting for your partner assignment, start thinking about an inspiration mosaic, which you will need to post on Instagram.
 |
| iPad cover made for me in the last Big Stitch Swap by Helen of Indianna Dreams |
The swap timeline is as follows:
- Signups open today (24th February) and will close on 1st March or when we reach 50 participants.
- Partner assignments will be distributed by 9th March
- If you haven't already done your inspiration mosaic, you will need to have it posted by 11th March
- Posting dates are from 24th - 28th April, giving you 6 weeks to stalk your partner, make something lovely and parcel it up ready to send off.
- Swap extras are limited to cards/postcards and a small selection of scraps and/or notions (eg. buttons, zippers, beads etc)

As usual, we ask that everyone actively participate on Instagram by posting inspiration mosaic, commenting on photos and posting WIP pics etc. If you have any questions before you sign up, please do ask! Better to ask before you sign up than after...it only makes our lives more difficult to find a substitute if you drop out.We are asking people to indicate what level of sewing skills they have so that we can match people as best as possible to someone of a similar level.
As always, can we ask you to please only sign up if you can commit to the swap deadlines. There is nothing more disappointing in a swap than your partner going awol and not receiving anything after you putting your heart and soul into making your item for someone else.
We do hope you join us! This will be so very fun!
UPDATE: All 50 places on the swap are now taken!


